How To Import a VM in Hyper-V 3 on Windows Server 2012
Registering a virtual machine with the hypervisor is a handy tool that can be used when moving VMs between hosts, changing storage locations or even manual creation of virtual machines. Hyper-V 3 in Windows Server 2012 has some new advanced features for registering a virtual machine and options for importing them into Hyper-V.
To get started, launch Hyper-V Manager, select your host in the left node, right-click and select Import Virtual Machine. The Import Virtual Machine wizard launches and you are presented with the "before you begin" welcome screen; click the Next button to continue.
The next screen (Fig. 1) will prompt you to specify the current location of the VM files that you want to import. Enter the correct value and click Next to continue. You will then be prompted to select the virtual machine you wish to import from the location you specified earlier. This is relevant in case that location has more than one virtual machine stored on it. Select your VM and click Next to continue.
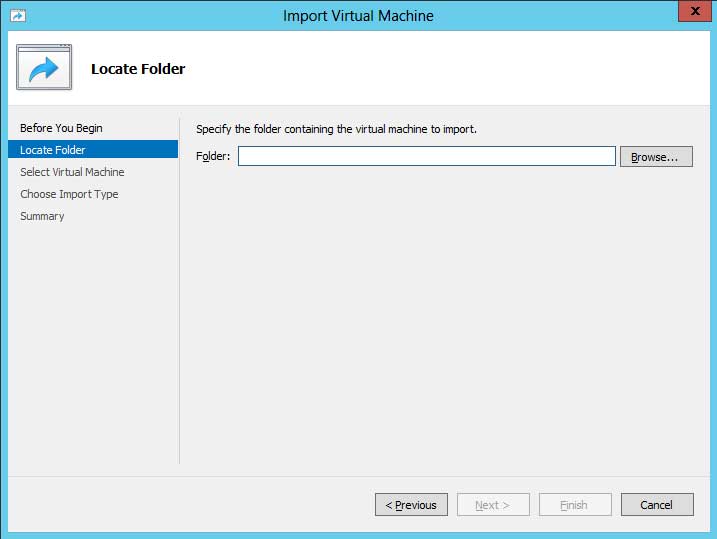 |
Figure 1. Locate Folder. (Click image to view larger version.) |
Up next is the import type (Fig. 2) and that is essentially the heart of the import process.
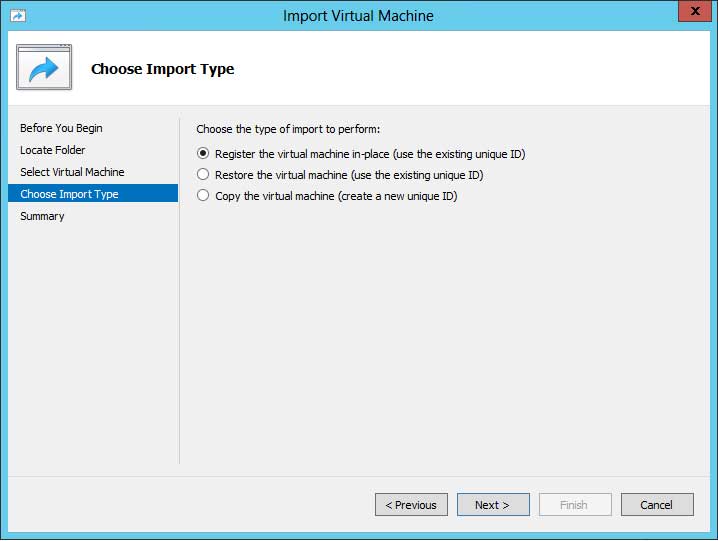 |
Figure 2. Choose Import Types. (Click image to view larger version.) |
You should make your selection after you have understood what each option does as follows:
Register -- This option assumes that the VM and its files are in the right place and that you simply need to register the VM's unique ID with Hyper-V. This could come in handy if you bring up a new Hyper-V host and for whatever reason or circumstance you present the storage to Hyper-V and you need to manually register the VMs on that storage. The unique VM ID is preserved and does not change in this option.
Restore -- This option is handy if you have your VM files stored on a file share somewhere or maybe even on a removable disk and you need to register the VM's unique ID with Hyper-V, but also need to move the files from the current storage location into a more appropriate location. This option will copy the files and will register the VM, all the while preserving the VM unique ID.
Copy -- This can come in handy when you are manually copying the VM files for the purpose of creating a new VM. Essentially you are using the "template" approach, except you are doing it manually. In this case using the Copy command will generate a new unique ID for the VM you are creating out of the copy process.
Have you been using Hyper-V on Windows Server 2008? If so do you find this new feature helpful? I would like to gauge the community pulse on some of these blogs I will be writing to see what the impact of some of these new features will have to your day-to-day job.
Posted by Elias Khnaser on 07/18/2012 at 12:49 PM