In-Depth
Downloading and Installing VMware's Free Desktop Hypervisor
In a previous article, I discussed VMware's announcement that it now allows the free personal use of its type 2 hypervisor, Workstation. In this article, I will go over my experience downloading, installing, and licensing it on my personal laptop.
 [Click on image for larger view.]
The VMware announcement stated that Fusion Pro (macOS) and Workstation Pro (Windows and Linux) now comes in two license models: Free Personal Use and Paid Commercial Use subscriptions. VMware refers to these two products as VMware Desktop Hypervisors, and non-personal use costs $120 annually. There will be no functional differences between the Free and Paid versions, but you will see the text "This product is licensed for personal use only" within the product user interface.
The laptop I will be installing it on is an HP Elite Dragonfly running Windows 10 Pro.
It has an Intel Core i7-8665U CPU with 4 cores and 8 threads. It runs at 1.90GHz with a turbo speed of 2.11GHz, 16GB of RAM, and 475GB of storage.
Downloading Workstation
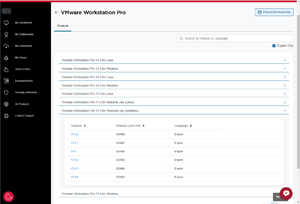
To download the free version of Workstation, you must create a MyBroadcom account. Broadcom acquired VMware in 2024, although Broadcom still has a VMware software division. You can create an account here.
Account creation requires you to supply Broadcom with your email address and additional information. Once your account is created, you will be redirected to your Broadcom MyDashboard. I couldn't navigate to the page to download Workstation, but I did find that I could use this link to download the personal use version of Workstation for Windows.
 [Click on image for larger view.]
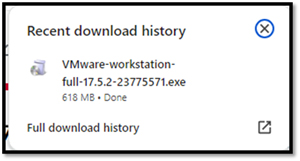
When I clicked the download icon, I was informed that additional verification was required. A web page asked me for my address, and I agreed not to export the software. I was then able to download the Workstation installation file (VMware-workstation-full-17.5.2-23775571.exe). The installation file was only 618MB and took a few seconds to download.
 [Click on image for larger view.]
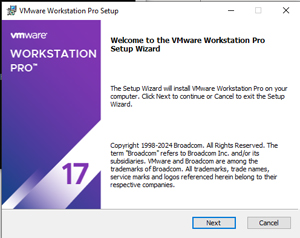
Installing Workstation
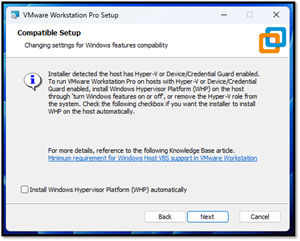
While installing the product, I was informed that Microsoft Windows Hypervisor Platform (WHP) needed to be installed. It asked me if I wanted to install it, and I did.
 [Click on image for larger view.]
It took less than three minutes to install it on my laptop.
 [Click on image for larger view.]
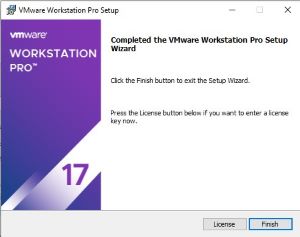
After the product was installed, I was given the option to license it, which I opted not to do.
 [Click on image for larger view.]
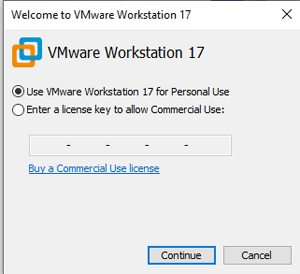
When I launched it, I was given the option to license it or use it for personal use. I opted to use it for personal use.
 [Click on image for larger view.]
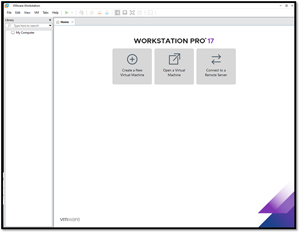
I was then presented with the VMware Workstation dashboard.
 [Click on image for larger view.]
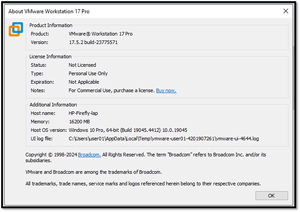
To verify the status of my software, I accessed the Help drop-down menu and selected 'About VMware Workstation.' Under the License Information section, I found that the software was not licensed but free for personal use, with no expiration date applicable.
 [Click on image for larger view.]
This article showed how painless it was for me to download and install Workstation Pro 17 on my laptop. It was, in fact, free and did not require unusually invasive registration or verification.
In my next article, I will create a Windows VM using Workstation Pro and experiment with some of Workstation's more advanced features to see if the free-for-personal-use version of Workstation has lost any functionality.
About the Author
Tom Fenton has a wealth of hands-on IT experience gained over the past 30 years in a variety of technologies, with the past 20 years focusing on virtualization and storage. He previously worked as a Technical Marketing Manager for ControlUp. He also previously worked at VMware in Staff and Senior level positions. He has also worked as a Senior Validation Engineer with The Taneja Group, where he headed the Validation Service Lab and was instrumental in starting up its vSphere Virtual Volumes practice. He's on X @vDoppler.