How-To
Installing Raspberry Pi OS on a Zero 2 W
After introducing the the Raspberry Pi (RPi) Zero 2 W, Tom installs the OS and plays Tetris but fails to browse.
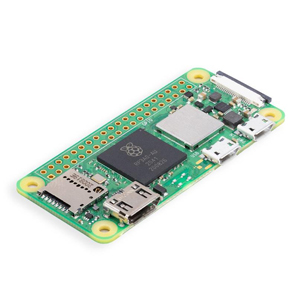
In a previous article I looked at the Raspberry Pi (RPi) Zero 2 W, an inexpensive ($15), extremely small (70mm x 35mm), Arm-based single-board computer (SBC) for the edge. In the end, I found that for the Zero 2 W to be usable, it would need to have additional components, such as a power supply and a cable adapter, which would bring up the total price to around $40-$75.
 [Click on image for larger view.]
In this article, I will install the de facto OS for this device: Raspberry OS. Since I will be following the official instructions, and because the official documentation is very good, I will only be giving an overview of the process and highlighting salient points from the documentation. The Raspberry OS comes with many useful tools, and APT can be used to install additional packages and tools if needed or desired. Installing an OS on Raspberry Pi is a little bit different then on other systems being that you install it directly onto an SD card and then insert the SD card into the RPi.
Raspberry Pi OS
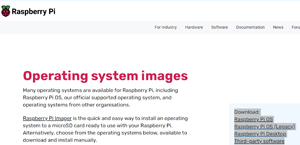
Raspberry Pi OS (previously called Raspbian) is an officially supported operating system for RPis. It is a 32-bit Linux (Debian) base OS that has been optimized to run on Pi systems and has been around since 2012. Raspberry Pi OS is free for download. On this site, you will notice that there are actually many different images that can be used with RPis.
 [Click on image for larger view.]
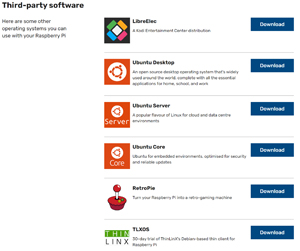
At the bottom of the page is a list of some of the other OSes that can be used with RPis.
 [Click on image for larger view.]
Installing Raspberry Pi OS
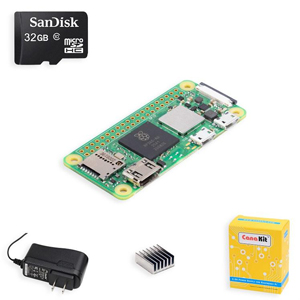
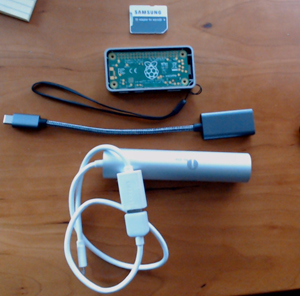
The system that I will be installing Raspberry OS on in this article is the Raspberry Pi Zero 2 W - Basic Kit (SKU: PI-Z2W-K101) that I purchased from CanaKit for $33 ($46 total with shipping), which I received in the mail in less than a week. The kit came with a Raspberry Pi Zero 2 W, a 32 GB SanDisk MicroSD Card, a 2.5A Power Supply and a Heat Sink for the RP3A0 which is a single chip that contains the CPU, GPU and RAM.
 [Click on image for larger view.]
I placed the RPi in a FLIRC case and used a Mini-HDMI-to-HDMI adapter and an OTG USB-to-USB Hub with 1GB Ethernet with it for connectivity.
 [Click on image for larger view.]
As noted above, you do not install the OS directly to the RPi but instead use a separate system to create the OS image on an SD card and then put the SD card in the RPi. I will be using a Windows laptop to put the OS image on the SD card.
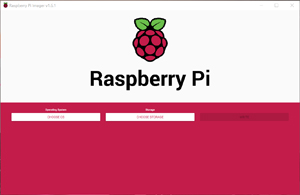
Raspberry Pi OS can be downloaded directly from Raspberry, but most people find it easier to use the Raspberry Pi Imager to write Raspberry Pi to an SD card. The imager will download the OS and install it to the SD card.
I downloaded the imager to my Windows laptop and launched it.
 [Click on image for larger view.]
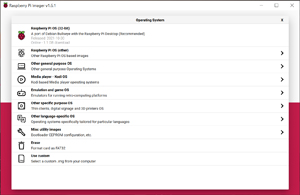
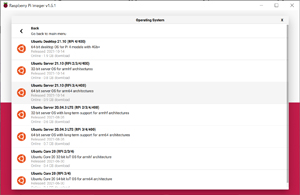
The imager lets you select from a wide variety of OSes to install onto the SD card.
 [Click on image for larger view.]
The installer is very nice as it will show which OSes are valid for the various RPis.
 [Click on image for larger view.]
I selected Raspberry Pi OS (32-bit) to write to the SD card.
 [Click on image for larger view.]
It took about 15 minutes to download and install the OS to the SD card.
First boot of Raspberry Pi OS
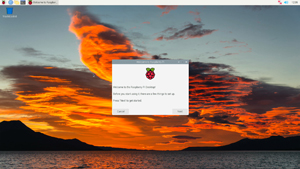
After the OS was written to the SD card, I placed it in the RPi and powered the RPi on. After a few minutes, the RPi finished booting up and I was presented with a welcome screen and setup wizard.
 [Click on image for larger view.]
The wizard had me set various preferences, such as language and time zone, and also gave me the opportunity to update my OS to the latest bits, although I opted not to do this.
Using Raspberry Pi OS
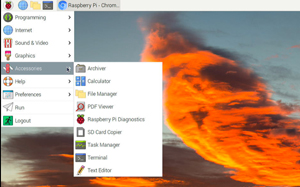
Applications are launched by selecting the Raspberry icon in the upper right and selecting the application from the drop-down menu.
 [Click on image for larger view.]
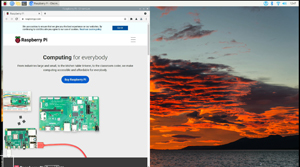
I brought up the Chrome browser and found it usable -- not unusually fast, but usable.
 [Click on image for larger view.]
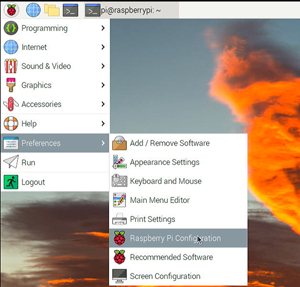
As I find remote system access to be useful, I used the Raspberry Pi Configuration tool to enable SSH and VNC on the system.
 [Click on image for larger view.]
 [Click on image for larger view.]
I was then able to SSH and use VNC for my laptop to get access to the system as pi, the default user.
 [Click on image for larger view.]
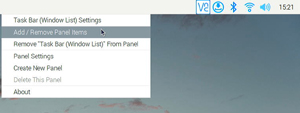
I wanted to monitor the CPU temperature and usage. To do this, I right-clicked the top toolbar and selected Add / Remove Panel Items.
 [Click on image for larger view.]
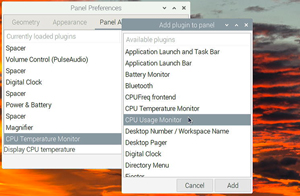
I then selected Add and selected the plugins that I wanted to add to the toolbar.
 [Click on image for larger view.]
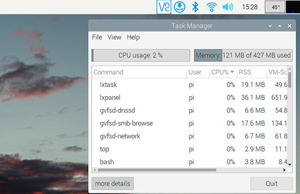
I could then see more information about the system.
 [Click on image for larger view.]
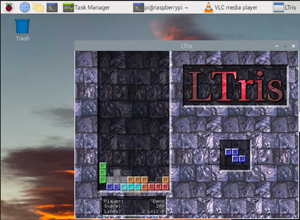
I installed a Tetris clone on the system, and it played well.
 [Click on image for larger view.]
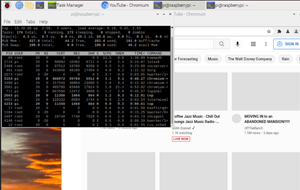
I then tried to play a YouTube video while using VNC to access the system over the same wireless connection, but the system became unresponsive, and TOP (a command-line resource monitoring tool) showed that the system had a 1-minute load average of 8, meaning that the quad-core processor was about 100 percent overloaded.
 [Click on image for larger view.]
Once I killed the web browser, the load average went down to below 1, which meant that the equivalent of only one of the four cores of the Arm processor was being fully utilized.
Conclusion
The Raspberry Pi Zero 2 W is quite an impressive SBC, and Raspberry made it extremely easy to install Raspberry Pi OS on it. The GUI interface is clean and intuitive to work with. I found that the web browser did hang when I tried to use it while I VNC-ed into the system. I was not surprised by this as the Zero 2 W was not designed to be a desktop replacement but rather a platform geared toward students, tinkers and makers, and to run bespoken applications on.
In my next article, I will attempt to use an inexpensive camera with it to take time-lapse photography.