Hyper-V on Hyper-Drive, Part 3: 8 Tips and Tricks
Some well-known -- and some more obscure -- tips and tricks for enhancing Hyper-V.
Read the complete series:
In the last two instalments in this series we looked at selecting CPU, disk and networking hardware for Hyper-V as well as how to configure the environment for performance. This time, let's look at some well-known and some more obscure tips and tricks for enhancing Hyper-V.
Integration components
First and foremost, make sure that the latest version of the Integration Components (IC) are loaded in every VM -- System Center Virtual Machine Manager will warn you when they're out of date in a VM. This is the most important step for improving VM performance. If you're unsure if they're installed, simply check under System Devices in System Manager in the VM. The presence of Virtual Machine Bus indicates that the IC are installed.
Hyper-V Manager
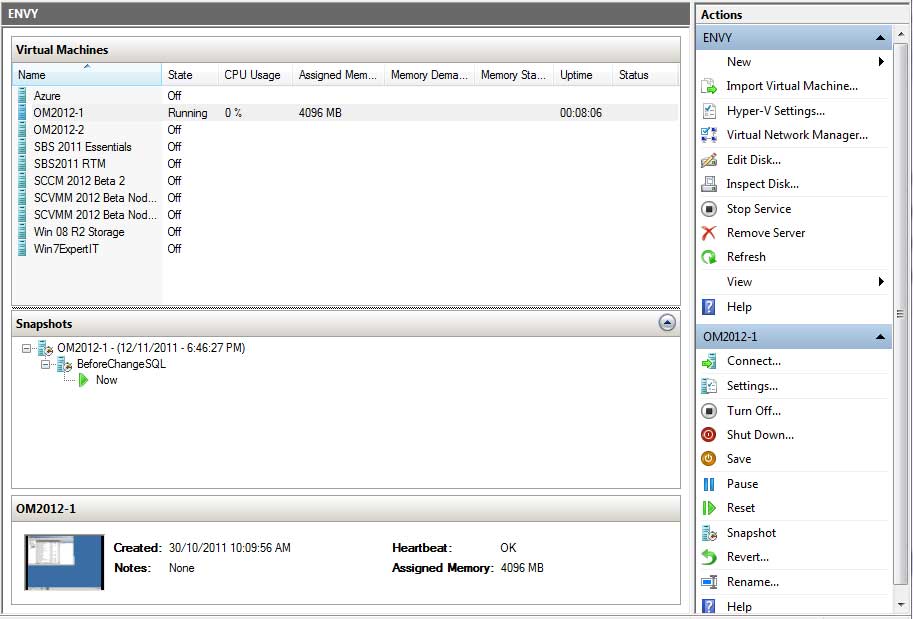
If you're running the full GUI version of Windows on the host, close Hyper-V Manager (see Fig. 1) when it's not being used, as thumbnails of VM screens costs resources in both host and guest while monitoring of performance statistics cause WMI activity in the parent partition. Another tip is to use Remote Desktop Sessions to connect to VMs instead of Virtual Machine Connection (which is what's used when you double-click on a VM in the manager), as this taxes the VM's resources less.
 |
|
Figure 1. Don't leave Hyper-V Manager running when you're not using it. (Click image to view larger version.) |
Host OS
In a lab environment, running Hyper-V on the full GUI version of Windows Server 2008 R2 SP1 certainly simplifies configuration and management and is an acceptable trade-off. In production, however, Server Core or the free Hyper-V server are better choices as they come with less overhead (about 80 MB less commit charge). They also come with the "Novell benefit" -- that is, it's far less likely that someone will muck around with them, as they're command-line only.
Guest OS
The rule here is simple: The newer the OS, the happier it is to be virtualized. So, Windows Server 2008 R2 SP1 and Windows 7 are your best candidates. This is true even if you're trying to "squeeze" an extra VM or two onto a crowded host. In the physical world we generally look to older OSs as requiring less resources, but in the virtual world the opposite applies.
Services
Limit the services that are running in the parent partition, not just to give as much of the host's resources to your VMs but also to maintain a supported configuration. Microsoft's words are clear on this point. You can only run management-, backup -- and if absolutely necessary, malware -- agents in the parent partition, and nothing else.
Snapshots
A common misconception is that Hyper-V snapshots are some form of backups -- they're definitely not. They're simply a way of capturing a snapshot of a VM at a given time and allows you to return the guest OS to that point with a single click. While this is very handy in a lab environment or for developers, many workloads (AD, SQL and Exchange Server for example) don't support snapshots. Also, a snapshot makes the original VHD read-only and subsequent changes to the disk are saved in a .avhd file, which impacts performance.
Background CPU activity
To stop wasted background processor activity in VMs, remove unused devices (such as COM ports), disable the screen saver and leave them at the logon screen when you're not actively managing them. If your VMs are client OSs, disable SuperFetch, Windows Search and the default scheduled defrag job. When you can, remove the virtual DVD drive, as the VM checks every second to see if there's media in the "drive." Setting it to "no media" isn't enough; you actually have to remove it under VM settings.
Network configuration
VMs can either use synthetic virtual NICs or legacy network adapters. The latter is required if you need your VMs to be able to PXE boot or the guest OS doesn't support the Integration Components. But in all other cases, make sure your VMs are using only synthetic NICs because of their performance. When creating Virtual Network names on hosts in a cluster make sure they're identical on all hosts, as Live Migration/Quick Migration won't work otherwise.
On the host side, depending on the size of your cluster, dedicate at least one 1GB NIC to Live Migration. You'll need additional NICs for cluster heartbeat, management and backup. If you're using iSCSI, you'll also need at least two NICs dedicated to storage access, preferably connected to two physical switches and use Multipath I/O (MPIO) to provide redundant paths to the storage.
Other Common Gotchas
Microsoft has a list of other common Hyper-V configuration mistakes people make; read it here.
In the final part of this series, we'll look at how to monitor Hyper-V and VM performance.
About the Author
Paul Schnackenburg has been working in IT for nearly 30 years and has been teaching for over 20 years. He runs Expert IT Solutions, an IT consultancy in Australia. Paul focuses on cloud technologies such as Azure and Microsoft 365 and how to secure IT, whether in the cloud or on-premises. He's a frequent speaker at conferences and writes for several sites, including virtualizationreview.com. Find him at @paulschnack on Twitter or on his blog at TellITasITis.com.au.